What are FPV drones and how to build your own one?
A guide to building your own first-person view (FPV) drone with almost infinite customization possibilities.
If you spend long enough on social media, it’s pretty likely that eventually, a video taken with FPV drones will steal your attention. Racing over city skylines, whizzing through treetops or tracing parts of the world untouched, these breathtaking clips capture stunning destinations from unique and compelling angles.
An impressive advert for drone cinematography, first-person view (FPV) drones have increased in popularity in recent years. They’ve evolved from a niche collection of specialized flyers to a strong category of remotely operated aircrafts designed for various uses including drone racing and videography.
This is accomplished by live-streaming footage from a camera mounted on the nose of the drone, which transmits via radio (typically 2.4 GHz or 5.8 GHz frequency, 1.3 GHz for distant transmission) to goggles or monitors worn by the pilot.

The advent of small HD cameras such as GoPros has a lot to do with the success of FPV drones, enabling a community of drone builders to modify and hack their own models and transform them into a real high-speed flying camera.
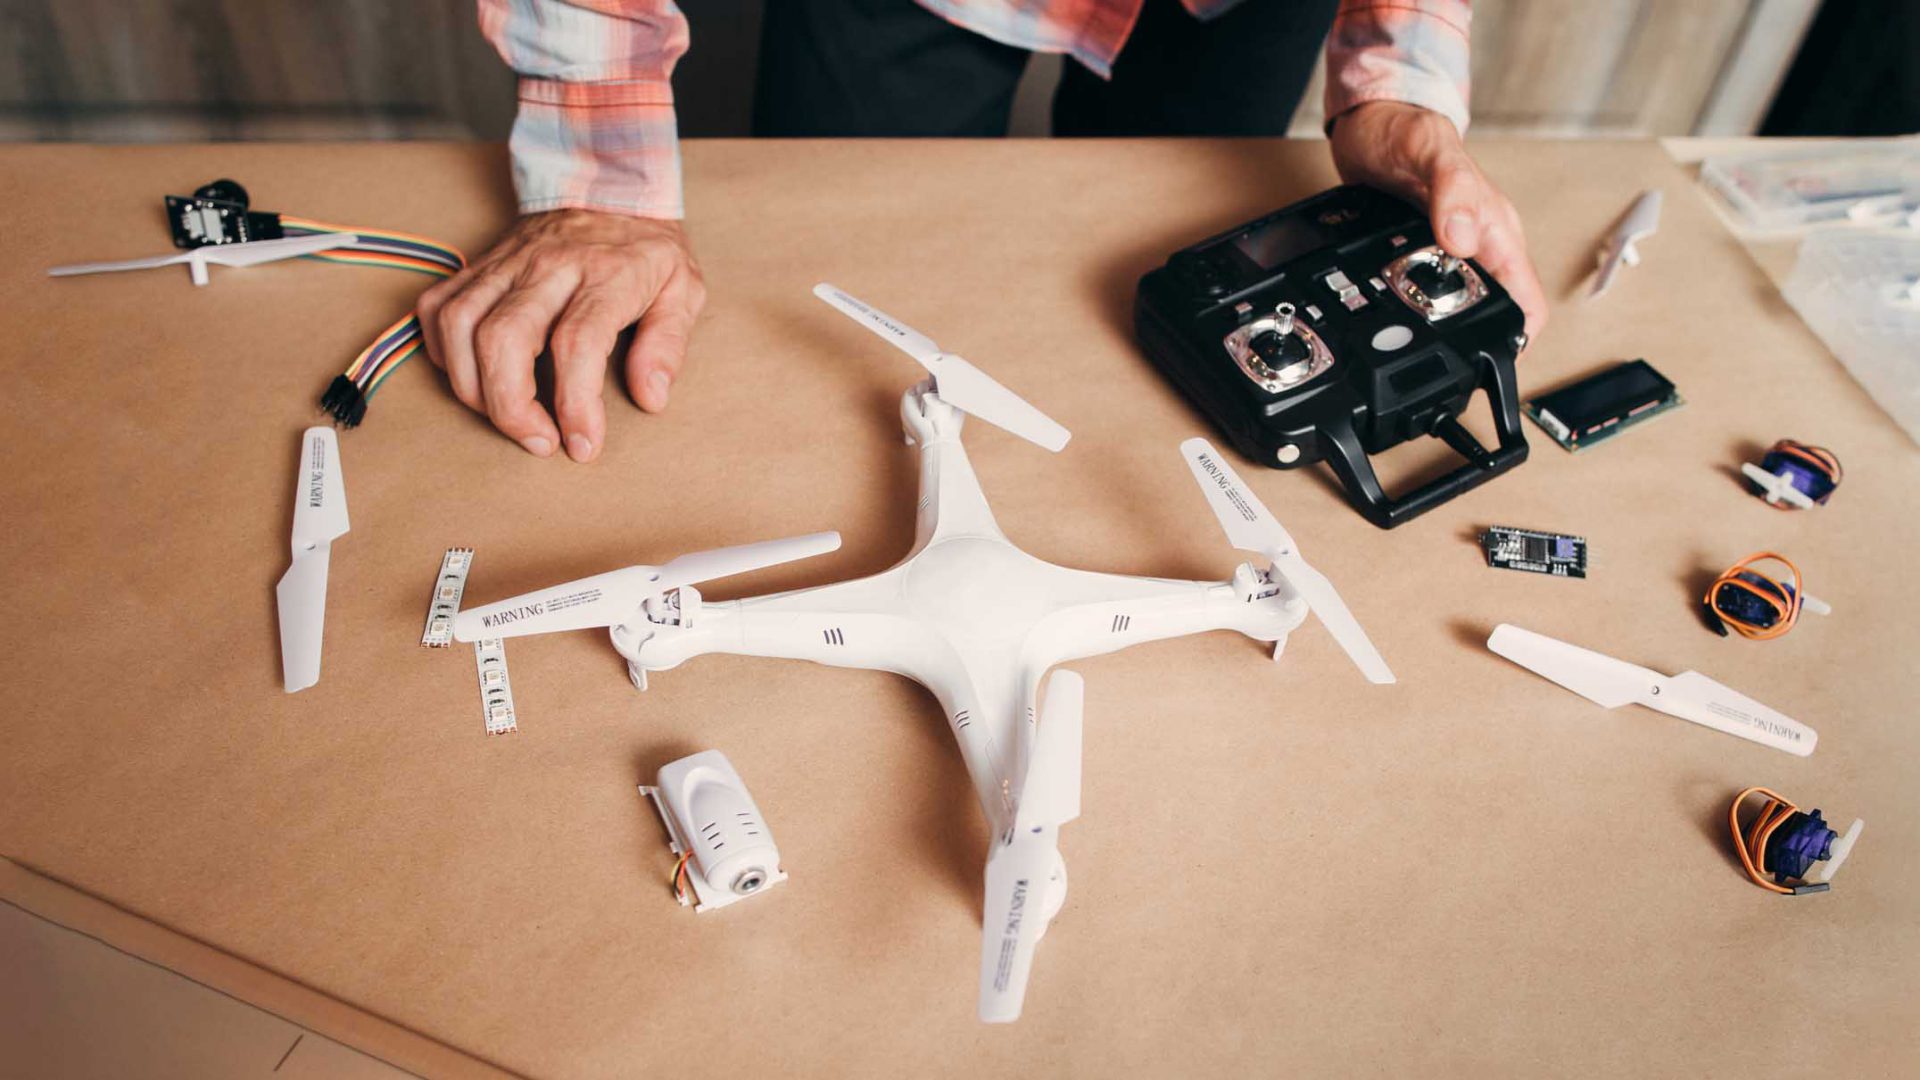
Most drones that are used today are mounted piece by piece by people who love the challenge of making things by themselves, resulting in customized drones in an infinite combination of colours, shapes, and styles.
It might seem like an intimidating task, but with the correct know-how, building your own FPV drone isn’t as hard as it sounds. In this article, we’ve waded through the mountain of information that’s out there and put together a guide to help you take off in no time, from briefly explaining each component to showing you a selection of ready-made FPV drones already out there to purchase.

FPV Drones – Development:
Frame
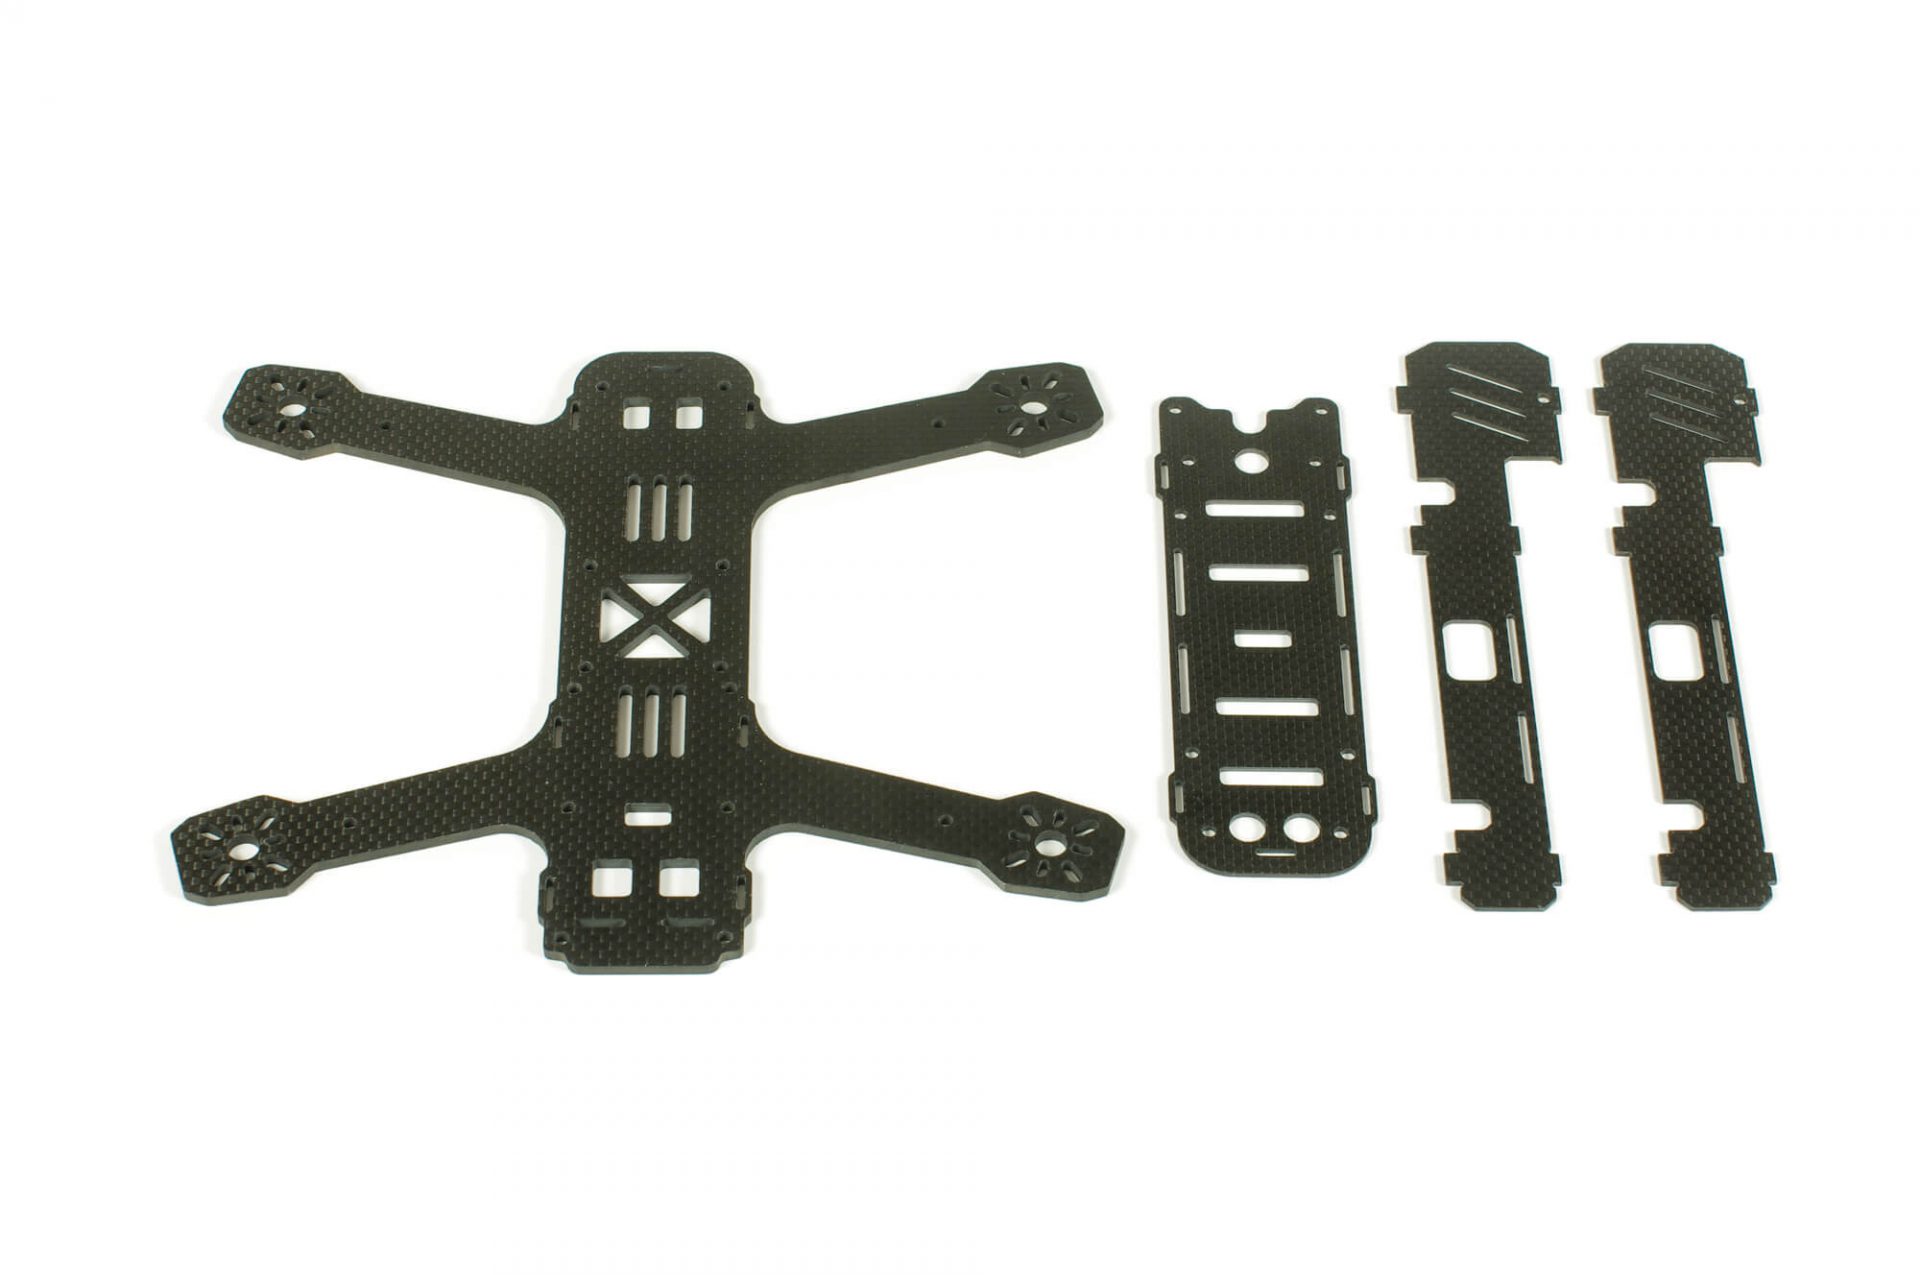
First, you want to give your drone some body and the frame is your starting point. This is where all other parts are fixed and assembled using mounting hardware to hold everything together. Frames come in different shapes and dimensions changing according to the intended use. To create the necessary nimbleness to fly through complex terrain and perform stunts, the frame of an FPV drone should typically be lightweight whilst permitting as much protection as possible.
The camera you want to mount will also dictate the final design as well as the type of components you envision. For example, do you want the versatility of swappable arms allowed? Do you need a frame that can carry the extra weight of an HD camera? Thanks to 3Dprinting, it’s much easier to scale back on mass and even create a one-piece design, with settings like the number of perimeters and the infill percentage that can be adjusted to decrease weight and improve the overall impact.
- Betafpv X-Knight Carbon Fiber 5” Frame V2 Kit – €22.42
- iFlight Titan XL5 Analog Frame Kit – €55.90
Motor Brushless
Fast, powerful, and agile, brushless motors take the aircraft into the sky and give the device the thrust it needs to reach insane speeds. The motors are powered by the battery via the electronic speed controller and the rotation speed of each one determines the direction of movement. Brushless motors are the preferred choice for DIY drones as they last much longer and are lighter on the battery. For an ordinary quad, you will need 4 motors.
- iFlight XING-E 1105 3S FPV Micro Motor – $10.99
- EMAX TH 1103 7500KV Brushless Motor – $9.99

Propellers
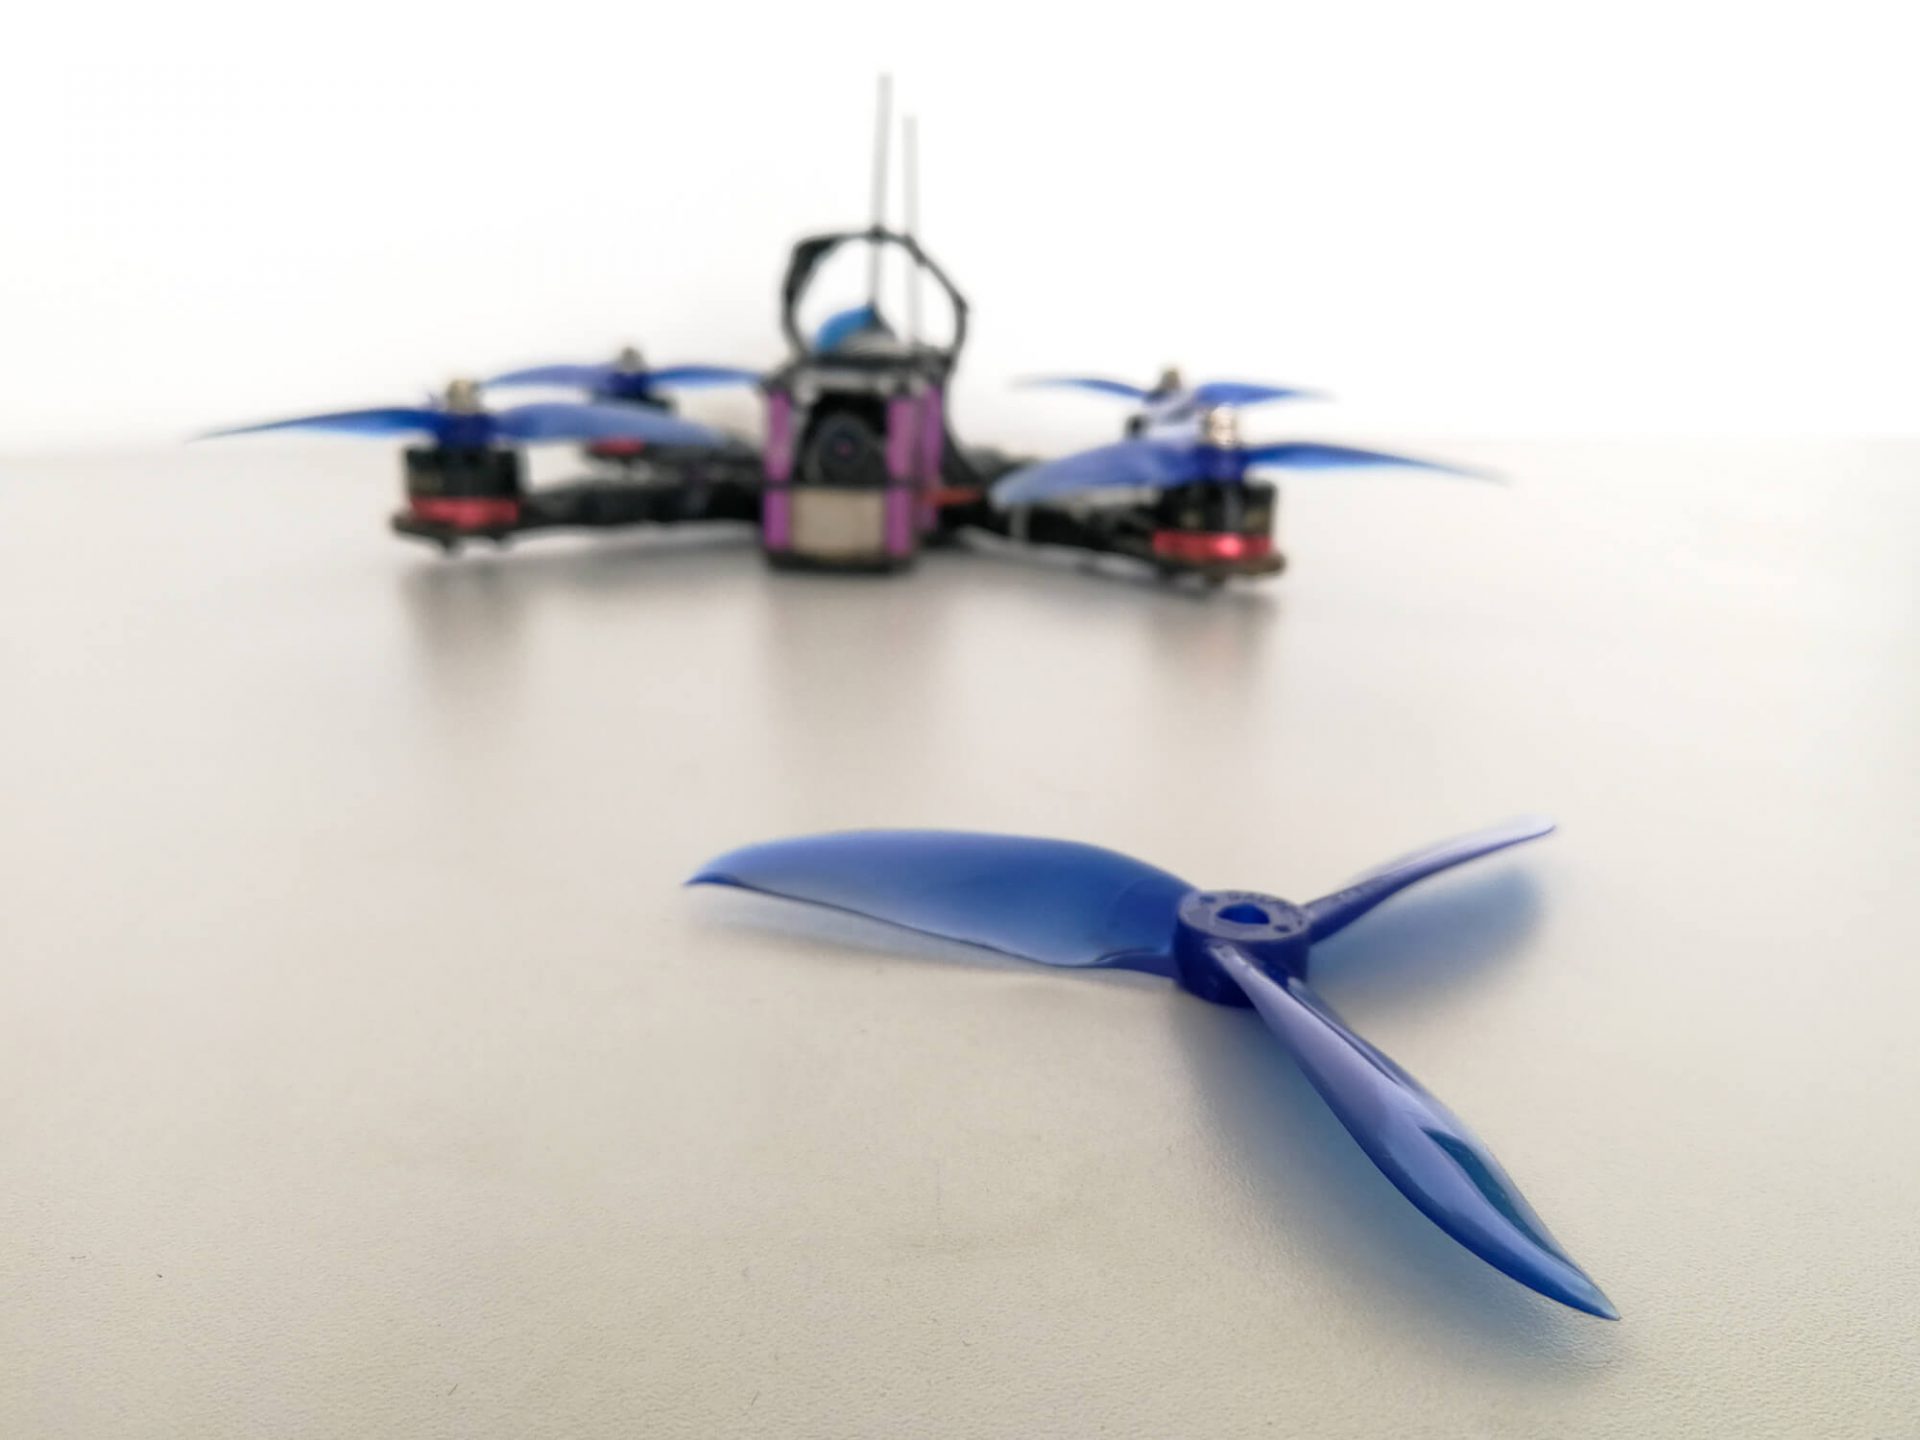
Connected to the brushless motors, propellers create the force needed for the drone to fly. They are also one of the main aesthetic features on a quadcopter and are available in various different colours. Propellers come with two or three blades and are made in a variety of materials, including carbon fibre, plastic and wood. Carbon fibre is the best material as this makes the propellers lighter and more resistant to damage.
Note: propellers with a smaller diameter make it easier to slow down or speed up, which is important for a new drone owner. Meanwhile, longer blades are good for stable, long flights.
- DALProp Cyclone T5043C Pro Propeller – $11.99
- BETAFPV Gemfan 2020 4-Blade Propeller – $2.50
ESC
An abbreviation for “Electronic Speed Controller”, ESC’s are the small components that produce and regulate the current needed to drive a drone’s motors and control their speed. ESC’s include a power supply stage, a current-sensing circuit, a microcontroller, and a communication interface with the flight control system. ESC’s should be in accordance with the size of your drone. You’ll need an ESC for each motor and can either get four separate ESC’s that mount on each arm or an all in one board that sits within the frame.
- T-Motor Cinematic F30A 6S 4IN1 ESC – $49.99

Flight Controller
The flight controller is the brain of the quadcopter. As well as receiving the video from the camera and sending it to the goggles, it translates information from the remote controller and sends it to the ESC to determine the drone’s movement.
The flight controller also features an embedded gyroscope and accelerometer which together help to automatically balance your drone without any manual input. Flight controllers are normally built for certain software such as Betaflight, KISS, or Raceflight so your software choice may affect your decision.
- HobbyWing XRotor Convertible Flight Controller F7 – $39.99
- SpeedyBee F7 V2 30×30 Flight Controller – $47.99

FPV Camera
Another crucial component for FPV drones is of course the camera. This is the eye of the drone and allows the pilot to see in first-person what the drone sees. FPV cameras typically use either a CMOS or CCD image sensor, the former CMOS model being cheaper and lighter but lacking the ability to react to changes in light. You can get away with flying a cheap CMOS camera however a CCD will give you better results. Further information on camera specs and their impact on visibility should be evaluated depending on individual needs and use settings, e.g. location of filming.
- RunCam Nano HD – $49.99
- Foxeer Mini Toothless 2 FPV Camera – $35.89

Video Transmitter (VTX)
The video transmitter is a small board that takes the signal from your camera and sends it out, through the antenna for transmission, to a set of goggles or other viewfinders. The most important things to consider here include power input, channel options, signal quality, and switching options.
- TBS UNIFY PRO 5G8 V3 (SMA) VTx – $39.95

Goggles
You’ll of course need goggles, the almost “VR-like” element that creates the first-person-view experience. These differ depending on resolutions, the field of view, and the strength of signal based on the integrated antennas and receiver.
- FatShark Shark Byte – Digital HD FPV Video System Bundle – $329.00
- EMAX Transporter 5.8Ghz FPV Goggles – $55.99

Transmitter and Receiver
Finally, the transmitter and receiver make up the radio control system. The transmitter you hold in your hands and the receiver you put inside your drone, transmitting commands wirelessly via a set radio frequency. There are different types of transmitters on the market all with different styles, textures, controls, and shapes. There are models that use rechargeable batteries, are compatible with only certain receivers, and remotes.
Make your choice based on feel (think about the grip and the feel of the control in your hand) and any surplus features you might want (e.g. telemetry, which sends key information from the drone to the remote telling you when to land or advising you on when to load and control autonomous waypoints).
- LiteRadio 2 Radio Transmitter – $39.99
- FrSky 2.4GHz Taranis Q X7 Access Transmitter – $106.23

Ready made Products
And of course, if you think this guide is too nerdy for you and don’t feel like building your own drone, you can always buy a ready-made one:
- DJI FPV Combo
- Emax Tinyhawk II
- Lumenier QAV-S JohnnyFPV Special Edition
- iFlight Protek25 4S 2.5″ Green Cinewhoop


